A Crab walk cycle can be complex

surprised-crab
Surprised crab 

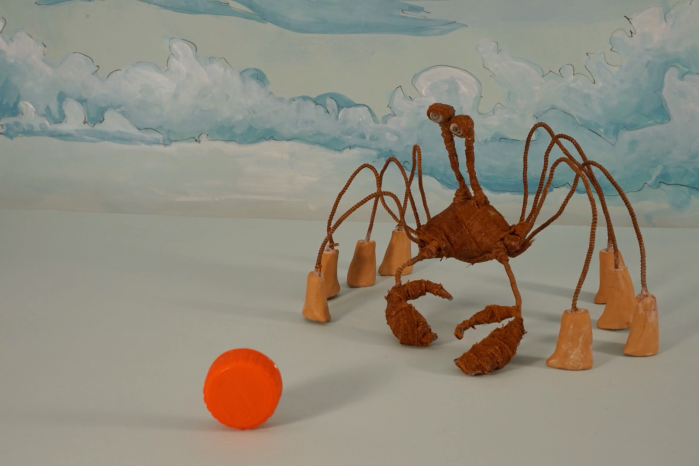
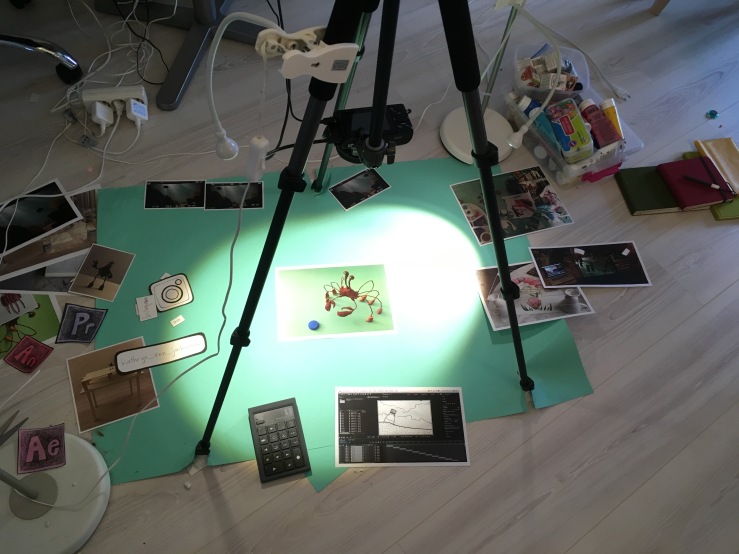
I was a bit overwhelmed by the thought of having to animate this crab especially in regards to all his arms and legs, including a pair of eyes which can also move independently. I started with small movements of  just the eyes to see if I could indicate he was watching something. I wanted the rest of the crab to be very stable so I attached magnets firmly underneath the stage in correlation to each foot. I didn’t attempt adding sand at this point, I just kept things simple for the sake of understanding how to create a small movement.

crab-edit-2
Crab blink

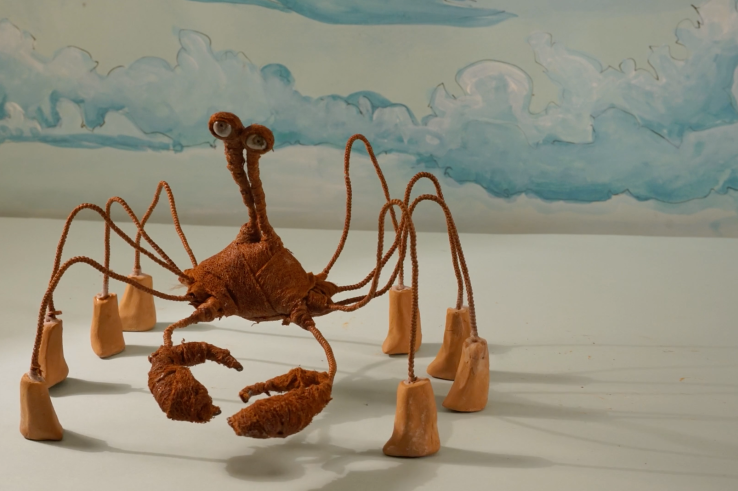
I attempted a blink by adding a top and lower eyelid to both eyes with plasticine. This was tedious and I had to move quickly because the clay was not sticking very well to the bark cloth (the fabric used to cover the puppet). I am considering other polymer clay types because the outcome was successful but the process was a bit tricky and time consuming for such a small detail.

Screen Shot 2017-12-19 at 10.15.44 AM
Crab slide walk

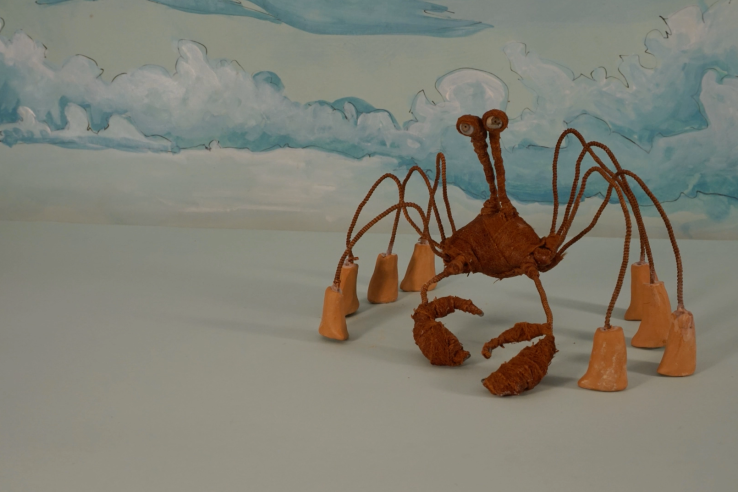
The walk cycle was quite intimidating especially after referencing many videos on Youtube of real crabs walking. Initially I had each leg come off the table and set back down further from the body. This didn’t look fluid or natural so I tried sliding the legs one by one instead. Sliding the legs into position in order of succession was the most effective way to move the legs so far but I will continue to experiment with this.  I prefer the aesthetic of the crab’s eyes being closer together but they often move apart, I need to be conscious of this and make sure they are in the correct position during filming.

crab-walk-30
Crab walk on sand

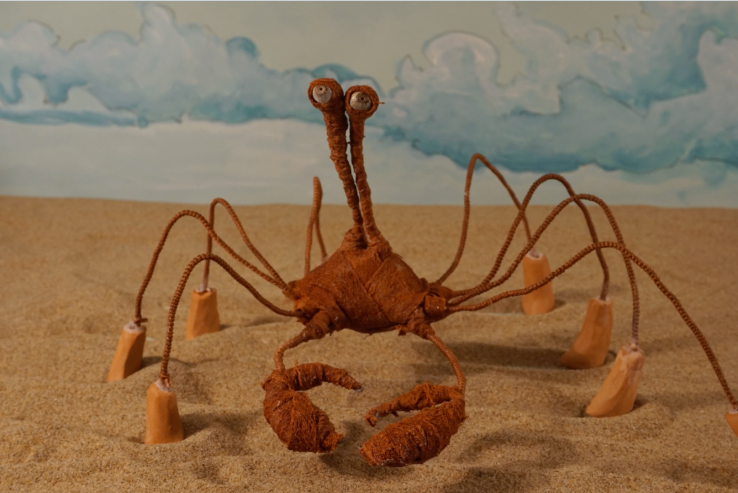
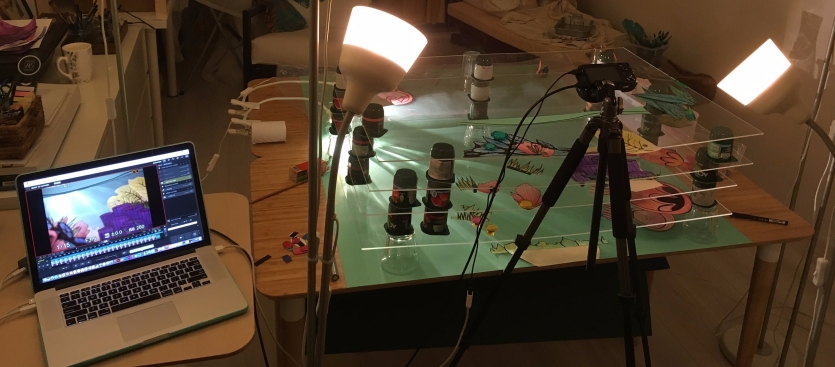
Once I felt comfortable that the crab walk was decent I added sand to see how this would effect the movement (there will be a lot of beach scenes in the final film).  When there is more sand it is harder to stabilize the crab because the magnets have more space between them but I was surprised that they still had significant stability on top of layers of sand.


Making a Digital Presentation

I was asked to create a digital presentation to communicate my ideas and processes that I am currently investigating for my final MA project: a stop motion film called The Metamorphosis of a Bottle cap.  

There were many different approaches to this presentation that I could have taken. I wanted the video to relate aesthetically and also in approach to my final project so I created the presentation with stop motion animation.

screen-shot-2017-12-18-at-2-28-23-pm-e1513604020332.png
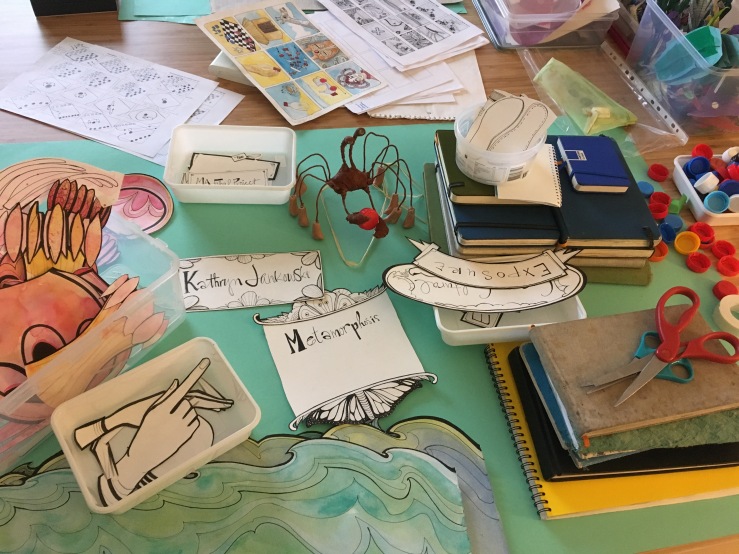
Creating this presentation took longer than I originally anticipated. I made several paper puppets and props specifically for this presentation and animated the ideas with them.

IMG_0338
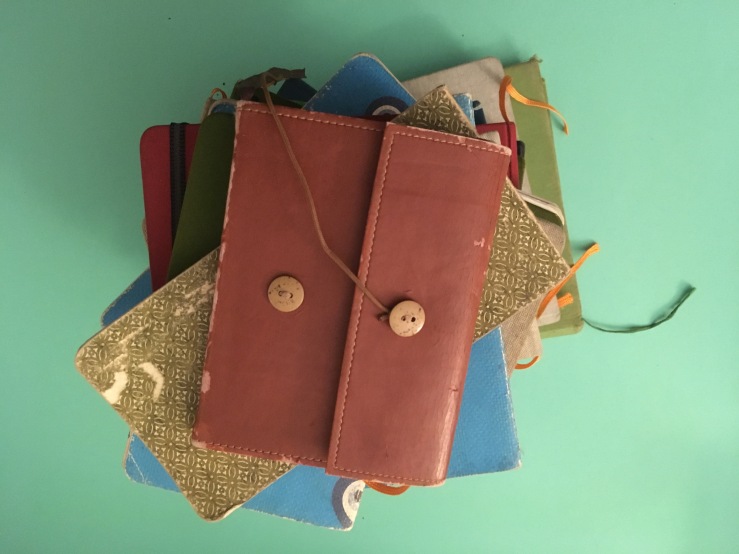
I included my sketchbooks because this is where all my ideas are originally recorded.
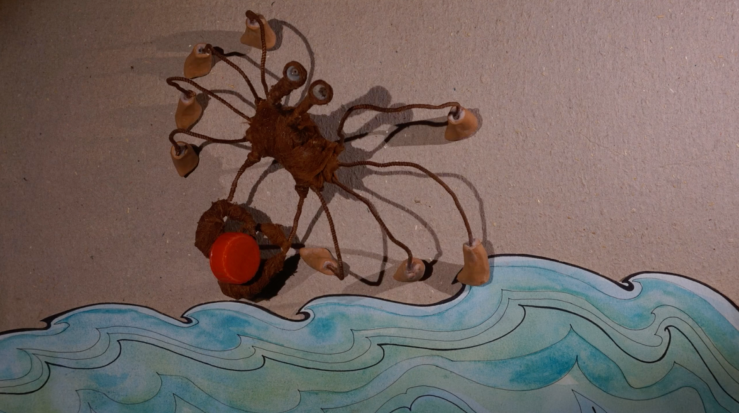
Screen Shot 2017-12-18 at 2.23.15 PM

The 1st draft of the presentation included a 3d crab puppet https://vimeo.com/245615199

IMG_0450 copy
The 2nd draft of the presentation https://vimeo.com/246226710 included only a photo of the 3d puppet.  I  cut the section with the 3d puppet because it was difficult to make a smooth transition from 2d to 3d and I wanted to show more skill in the presentation than I was capable of at the time.  The camera was also set up to shoot from above and the lighting was set for 2d items so it made sense to continue for this project with only 2d items for the sake of continuity.  3d animation with the crab puppet is what I have been attempting recently and will be posting about this soon.


Simplifying the Scene to Learn More

multiplanesetupborder1.jpg
2d multi-level animating table and filming set up

After testing the jellyfish with the bottle cap (another handmade puppet), I felt the scene was too complex for my  level of animation skills so I took the jellyfish out, glued everything down as secure as I could and experimented with moving only the bottle cap. Focusing on animating only one object allowed me to learn more about animation because I could see more clearly the results of my actions. It was at this point that the animation became much better.  Click on the link to have a look and let me know what you think!  https://vimeo.com/242077980

A lot has happened since my last post


I completed the story boards for the film by hand and then revised their frame order in Indesign.


I created a basic animatic in After Effects..https://vimeo.com/239963212 which gave me a rough estimate of how long the film would be. I also added sound effects to a selection of the first scene https://vimeo.com/239957320

I created a scene reference chart which helped me understand how many different sets, props, backdrops,  foregrounds and characters I would need for the film.

After completing the processes mentioned above, I considered combining  both 2d and 3d animating techniques to create the final film. Since this possibility came to light, I have been experimenting with both approaches to see if one is better than the other or if they can work well together.  I started with 2d animation because I thought it would be easier. This simply was not the case and instead I endured a steep learning curve as there were many factors I didn’t anticipate. Constructing a functioning and stable set up involving aesthetically pleasing light effects, and limited reflection proved difficult. Below are images of  make-shift multi-level 2d animation tables. Both are made with plexiglass sheets supported by various household items.

These large plexiglass sheets are stacked on yogurt cups and drinking glasses.

These smaller plexiglass sheets are stacked on tea and egg cups. The smaller table was less stable and was bumped accidentally several times sending small items into disorder.

The multiple levels are meant to allow for a greater sense of depth when animating on 2d planes, they also made the set-up very complex and created multiples of unwanted reflections.  Click on the following link if you would like to see an animation test on the mini multi-level table above   https://vimeo.com/239962113  which was created with a trial version of Dragonframe (stop motion software).

I created 2d puppets to animate on these tables. I used waterproof ink pens, watercolour paper, watercolour and acrylic paints, permanent inks, scissors and wood glue.

The bat fish I made were too big for even the large animating table but some of the jellyfish fit into the scene. Smaller puppets would have been more manageable when animating which I will keep in mind when approaching the next set of puppets.


The neck of the jelly fits into a custom-made envelop on the back of it’s head. The 4 appendages fit into a smaller envelop on the back of the midsection. This allowed it to be animated from at least 5 pivot points. The batfish unfortunately were never put together due to their large size, an oversight on my part before I understood how the table, camera and puppets would work together. To see a very rough animation with jelly fish in it click on the following link  https://vimeo.com/247347813